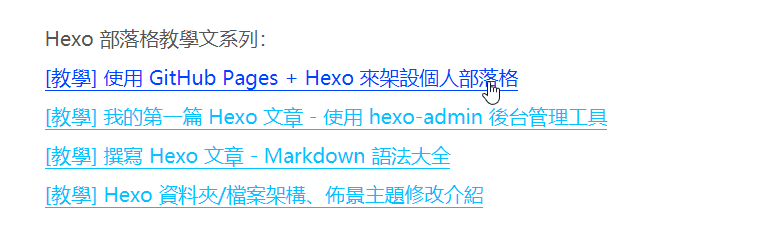
Hexo 部落格教學文系列:
[教學] 使用 GitHub Pages + Hexo 來架設個人部落格
[教學] 我的第一篇 Hexo 文章 - 使用 hexo-admin 後台管理工具
[教學] 撰寫 Hexo 文章 - Markdown 語法大全
[教學] Hexo 資料夾/檔案架構、佈景主題修改介紹
[教學] Hexo 筆記 - Next 主題升級、客製功能及樣板編輯全記錄
[教學] APlayer:為 Hexo 部落格加入個人音樂播放器
從開始使用 Hexo 架站已過了一年多,本部落格使用的 Next 主題也過了好幾個版本的更新,因為要讓 Next 主題看起來與眾不同,筆者也爬了各種文、做了各式各樣的樣板修改…但直到最近看到 Next 更新支援了 pjax(下面會介紹 pjax 是什麼),這讓筆者決定花費心力來更新自己的部落格主題呀!!!
由於個人目前使用的 Hexo 版本為 3.9.0,最新的 Next 主題需要 Hexo 4.0.0 版本以上,前一篇文章 也討論過為何不建議直接升級部落格主題,因此這裡決定寫一篇教學,如何完整更新部落格版本,包含所有資料(圖片、文章、config 等)的移轉,還有筆者自己對 Next 主題的客製功能(例如左下方的音樂播放器)及樣板編輯(例如背景、右方滾動條色彩和一些細微調整),方便需要的人和自己在未來的時候會用到。
升級環境:
Hexo: 3.8.0 -> 4.2.0
Next 主題: v6.4.0 -> v7.8.0
Hexo 部落格升級移轉、Next 主題升級
重建 Hexo 資料夾
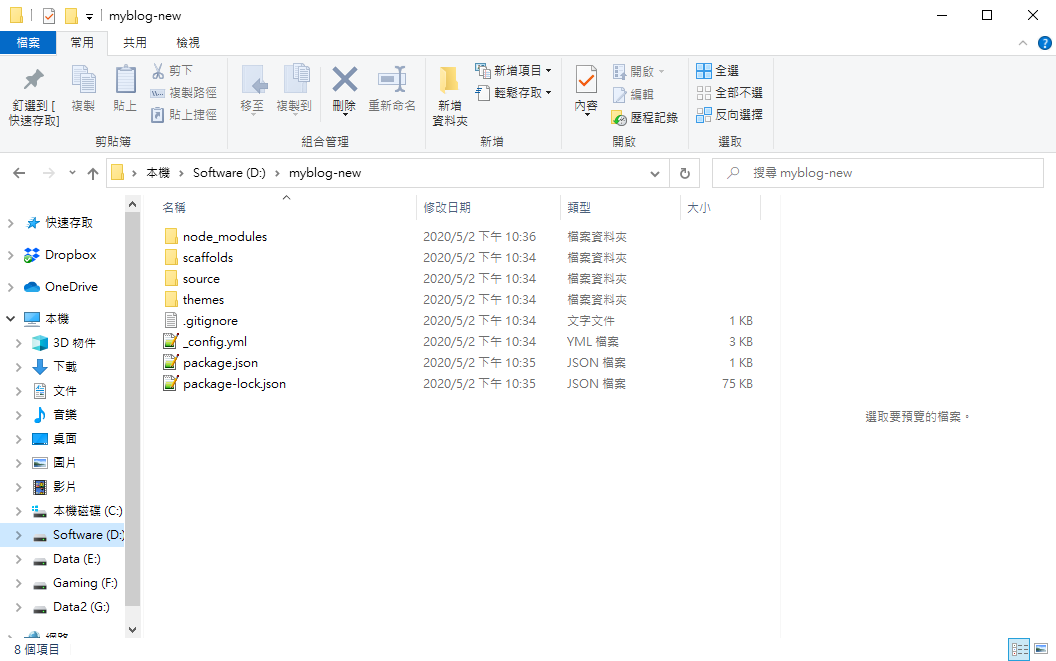
首先是重建 Hexo 資料夾,才能安裝最新版本的 Hexo,為了區別,資料夾名稱就用 myblog-new,接著打開 cmd 輸入以下指令,路徑要設定在欲放置部落格資料夾的路徑:
1 | hexo init myblog-new //初始化新的 Hexo,會在當前路徑建立一個叫 myblog-new 的資料夾,資料夾名稱可以隨意取。 |
剛建好的新部落格資料夾如下圖:
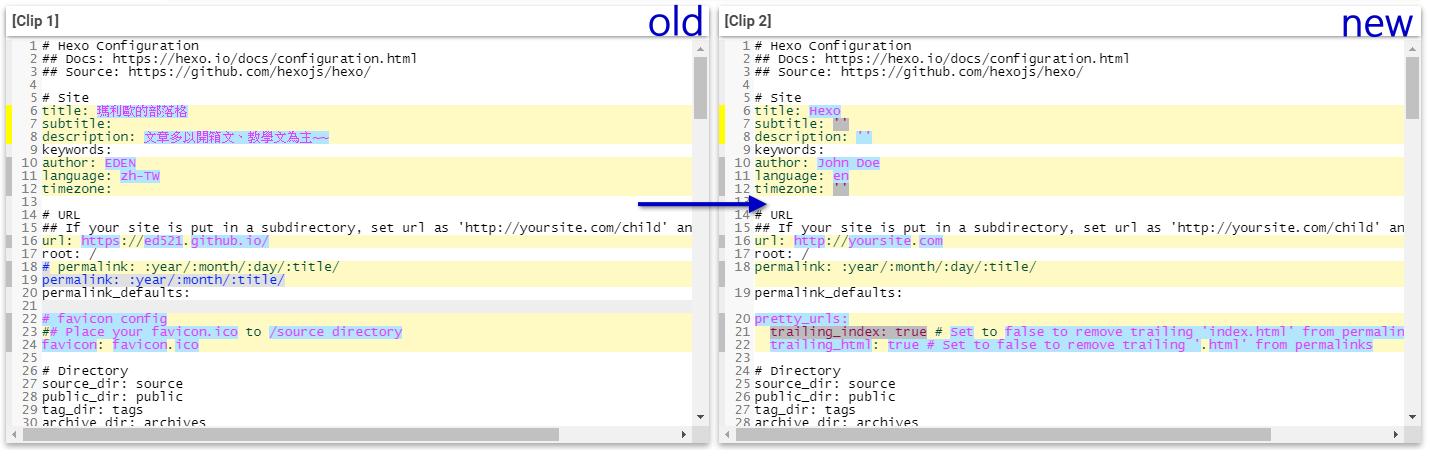
比對 _config.yml 檔案
接著要修改新的 _config.yml,但是不能直接從舊的複製過去,因為內容在 hexo 更新後已不完全相同。這時候只能出動比對工具,將舊的 _config.yml 檔案內容慢慢修改到新的檔案之中:(下圖為節錄一部分比對)
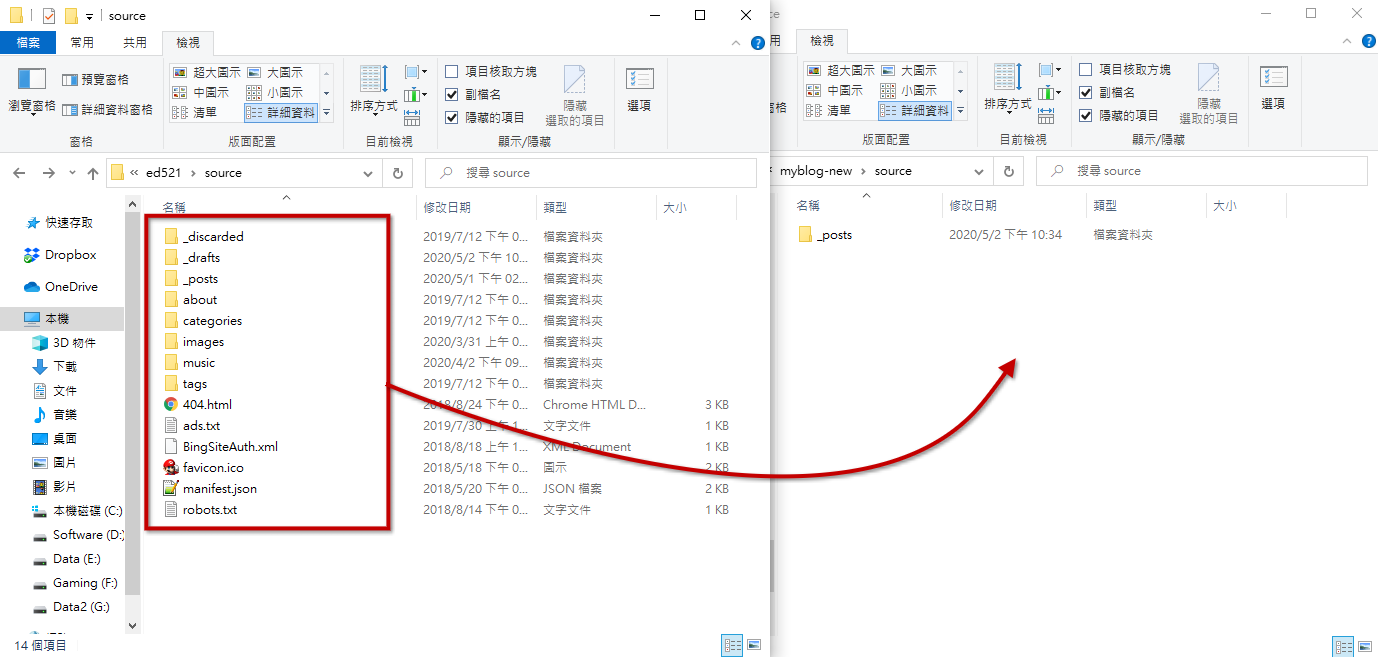
複製 /source 下資料
之前有提到過 /source 資料夾就相當於原始檔的概念,因此全部檔案都可以複製到新的部落格 /source 資料夾。
Next 主題升級
接著要下載最新的 Next 主題,請輸入以下指令:(執行 cmd 在 Hexo 資料夾根目錄下)
1 | git clone https://github.com/next-theme/hexo-theme-next themes/next |
記得在根目錄的 _config.yml 要修改套用的主題為 next。
1 | # Extensions |
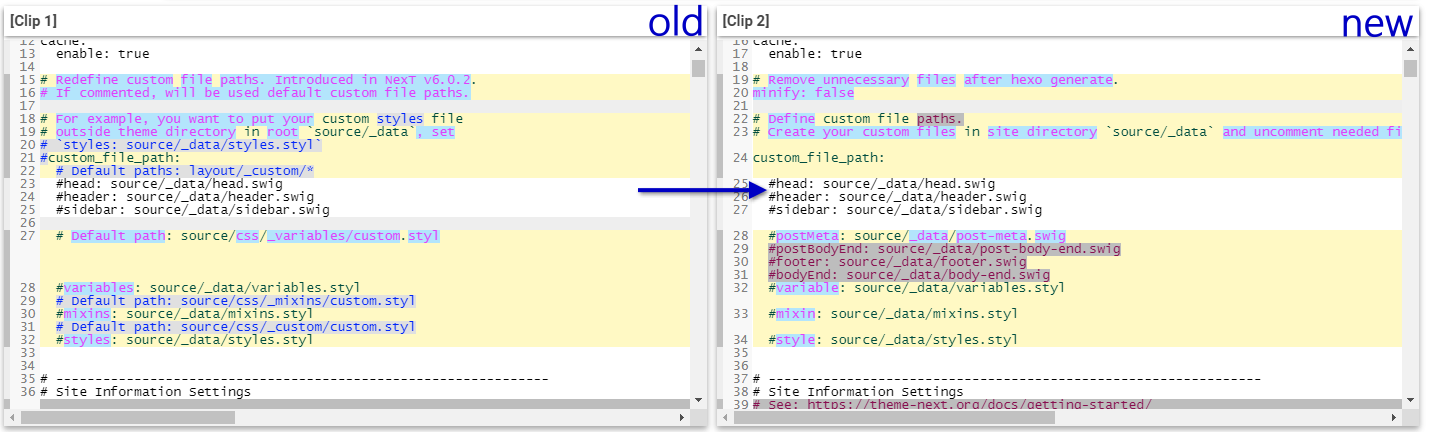
比對 Next 主題的 _config.yml 檔案
主題 next 資料夾下一樣有 _config.yml,也一樣不能直接從舊的複製過去,因為內容在主題更新後已不完全相同。這裡一樣透過 比對工具,將舊的 _config.yml 檔案內容慢慢修改到新的檔案之中:(下圖為節錄一部分比對)
要注意的是,有些設定有新增、被移除、被換位置等等,比前面 Hexo 的 _config.yml 還要難修改多了。
Next 客製功能及樣板編輯筆記
pjax 安裝
究竟什麼是 pjax 呢?簡單來說,pjax 實現了 URL 改變但不重新整理整個頁面,也就是只有局部的頁面會更新,不會讓整個頁面重新閃動(重新整理)。那這個功能有什麼特色呢?最重要的就是原本左下角的音樂播放器遇到切換頁面,就會停掉然後重新載入;但使用 pjax 後就能解決這個問題。
要啟用 pjax,首先到 /themes/next/_config.yml,修改 pjax: true:
1 | # Easily enable fast Ajax navigation on your website. |
根據 官方教學,需要輸入以下指令來載入必要檔案:(cmd 在 Hexo 資料夾根目錄下)
1 | git clone https://github.com/theme-next/theme-next-pjax themes/next/source/lib/pjax |
看似沒什麼的功能,其實在切換頁面的時候,就不會整個 refresh 了唷!重點是音樂還能不中斷播放!
文章字數統計/閱讀時間安裝
/themes/next/_config.yml 的 閱讀字數/時間 設定如下:
1 | # Post wordcount display settings |
根據 官方教學,需要輸入以下指令安裝:(cmd 在 Hexo 資料夾根目錄下)
1 | npm install hexo-symbols-count-time --save |
接著要在 Hexo 資料夾根目錄的 _config.yml 加入以下內容:(加在檔案最下方即可)
1 | # 字數統計及閱讀時長 |
實際結果如下圖:

Aplayer 音樂播放器安裝
PS. 詳細 Aplayer 音樂播放器設定,包含音樂該丟哪個免費空間、LRC 動態歌詞尋找or製作、專輯封面搜尋等工作,請參考此文章:APlayer:為 Hexo 部落格加入個人音樂播放器
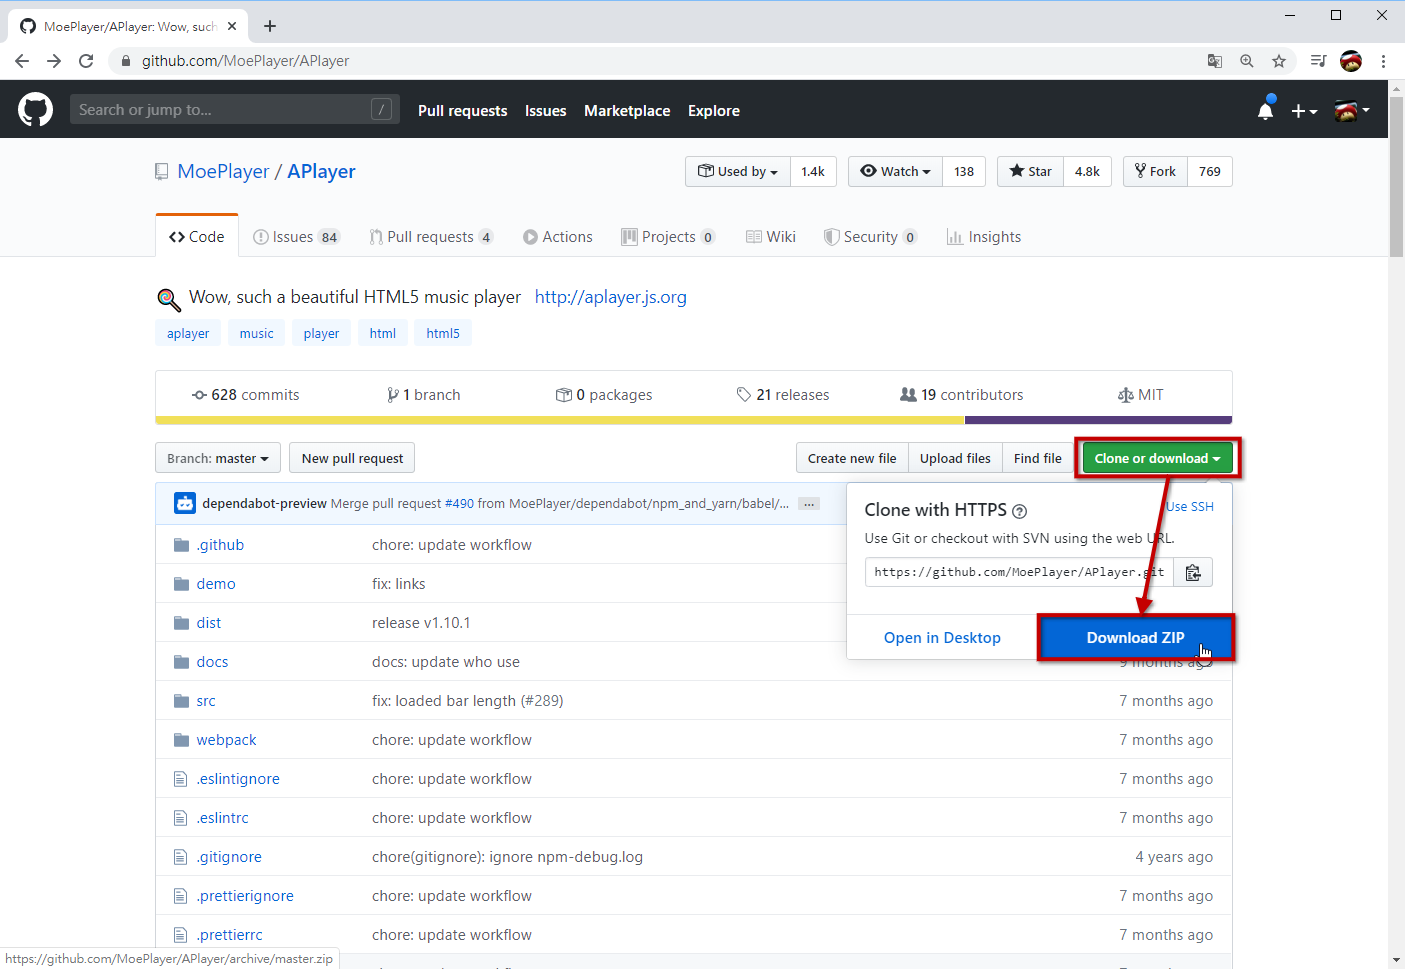
首先到 Aplayer 的 GitHub 網站,點選綠色的”Clone or download”,然後點選 Download ZIP。
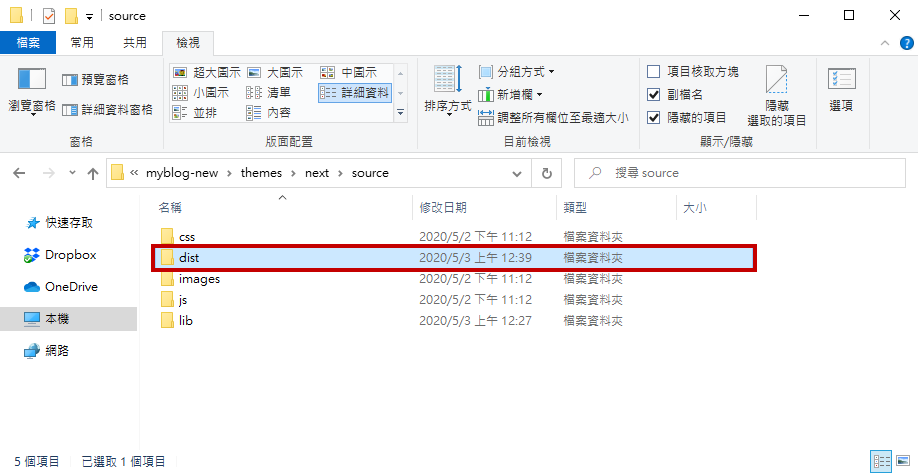
打開壓縮檔後,我們只要裡面的 dist 資料夾(裡面有四個檔案),把它放到 /根目錄/themes/next/source/dist/ 路徑下。
點開 dist 資料夾,新增 music.js 檔案,以下是範例內容,使用者要自己去找 url(音樂網址,必要), cover(音樂專輯圖片), lrc(音樂動態歌詞),然後歌曲依序新增下去。
PS. 有關參數設定可以查看 APlayer 中文文檔,例如下方有個 fixed: true 就是開啟吸底模式(播放器固定於頁面底端)。
1 | const ap = new APlayer({ |
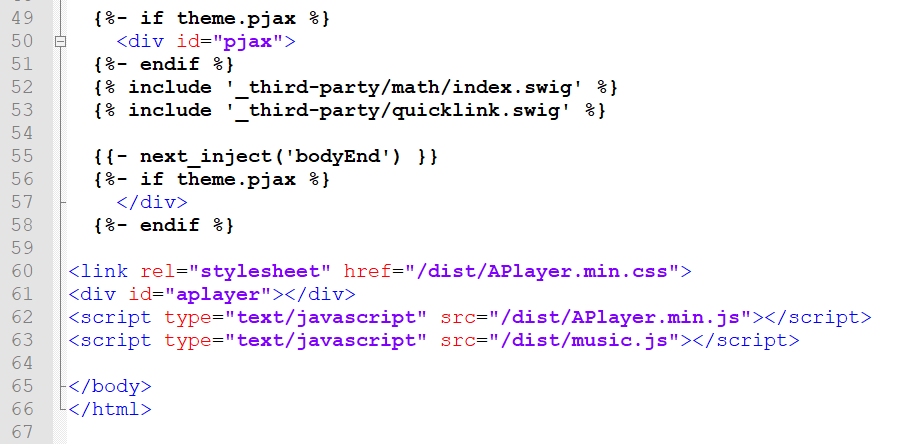
新增完 music.js 後,還要到 /根目錄/themes/next/layout/_layout.swig 檔案,加入以下內容:(新增於倒數第二列</body>前即可)
1 | <link rel="stylesheet" href="/dist/APlayer.min.css"> |
設定完成後,搭配 pjax,就可實現切換頁面不中斷音樂了!

文章搜尋功能安裝
/themes/next/_config.yml 的 文章搜尋功能 設定如下:(將 enable 改成 true 即可)
1 | local_search: |
根據 官方教學,需要輸入以下指令安裝:(cmd 在 Hexo 資料夾根目錄下)
1 | npm install hexo-generator-searchdb --save |
接著要在 Hexo 資料夾根目錄的 _config.yml 加入以下內容,相關參數設定可以查看 官方文件,基本上照預設走即可:(加在檔案最下方即可)
1 | # 文章搜尋功能 |
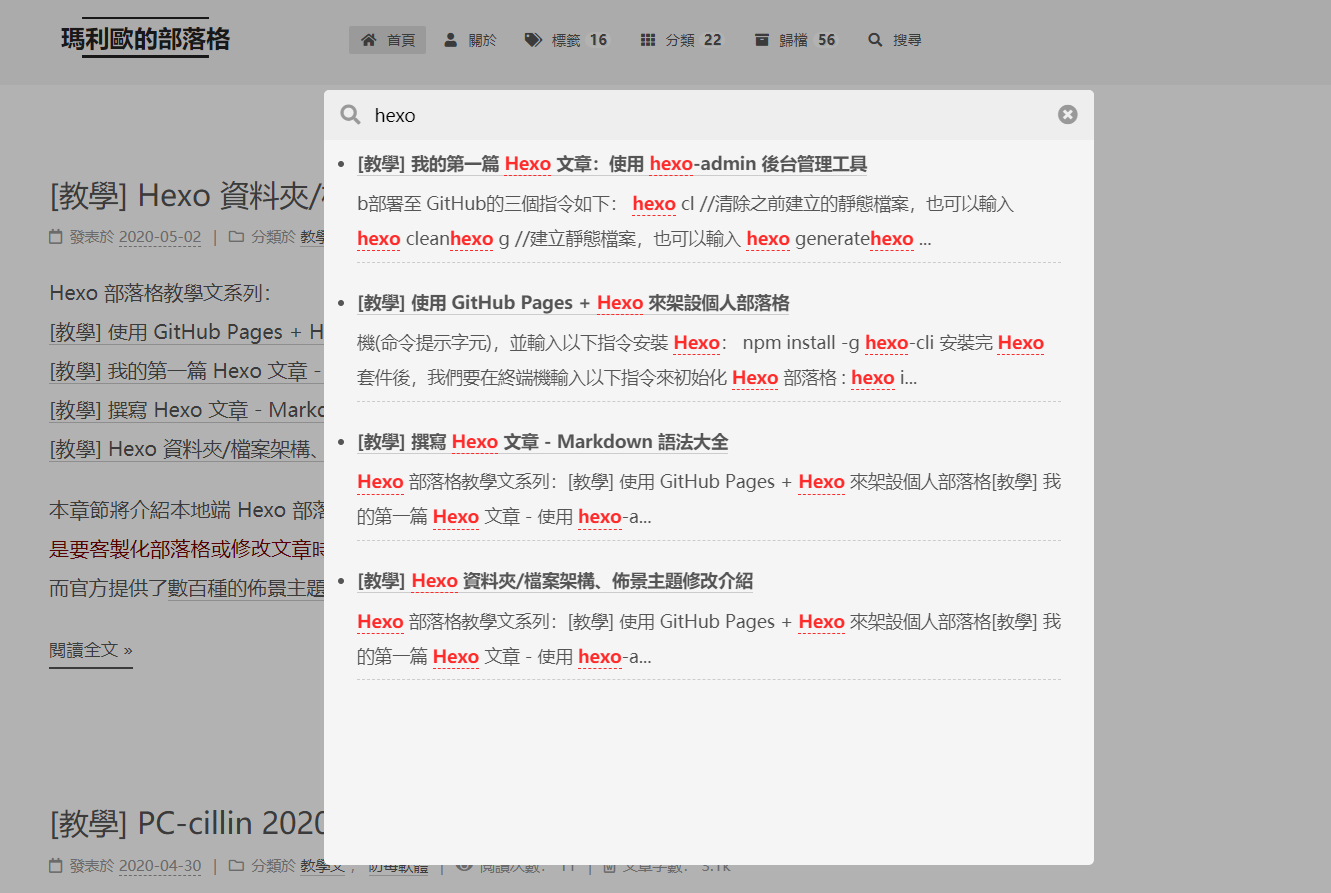
實際結果如下圖:
pace 頁面載入進度條安裝
頁面載入進度條就是點 Youtube 某支影片時,畫面頂端會有一條紅色的載入進度條,跑到底就代表載入完成;而 pace 可以做出類似的效果。
要啟用 pace,首先到 /themes/next/_config.yml,修改 enable: true:
1 | # Progress bar in the top during page loading. |
根據 官方教學,需要輸入以下指令載入 pace 必要檔案:(cmd 在 Hexo 資料夾根目錄下)
1 | git clone https://github.com/theme-next/theme-next-pace themes/next/source/lib/pace |
使用者可以挑選喜歡的 theme 來套用,雖然 minimal 是最不花俏的XD
sitemap.xml 製作
若要提升 SEO,就必須把 sitemap.xml 提交到 Google Search Console,在後台能了解:
- 不同網頁的搜尋總點擊次數
- 使用者搜尋什麼關鍵字而找到自己的部落格
- 使用者是從哪些國家搜尋
- 行動裝置可用性
- …等等
在此之前,我們要安裝個套件,讓我們在輸入hexo g時,就會自動生成 sitemap.xml:
1 | npm install hexo-generator-sitemap --save |
接著要在 Hexo 資料夾根目錄的 _config.yml 加入以下內容:(加在檔案最下方即可)
1 | sitemap: |
如此一來,以後在輸入hexo g時,會自動生成 sitemap.xml 檔案;並且在 push 到網路上後,輸入 https://部落格網址/sitemap.xml 就會看到自己的網站地圖了。
sidebar 加入近期文章
到 /根目錄/source/_data/ 這個路徑(不是 next 主題的資料夾路徑),如果沒有 _data 資料夾要自己新增,然後在 _data 資料夾內新增 sidebar.swig 檔案,並加入以下內容:
1 | {# Blogroll #} |
接著修改 /themes/next/_config.yml 檔案,將 sidebar 那行取消註解,代表我們要使用自己的 sidebar.swig 檔案。
1 | # Define custom file paths. |
效果如下圖:
樣板編輯
首先修改 /themes/next/_config.yml 檔案,將 style 那行取消註解。
1 | # Define custom file paths. |
接著到 /根目錄/source/_data/ 這個路徑(不是 next 主題的資料夾路徑),如果沒有 _data 資料夾要自己新增,然後在 _data 資料夾內新增 styles.styl 檔案,下方教學全都是在 styles.styl 新增樣式,有需要的才要新增:
背景圖片設定
在 styles.styl 檔案中加入:
1 | //設定部落格背景 |
接著記得要把背景圖片放到 /根目錄/source/images/bg.jpg ,也就是前面設定的路徑。
更改文章內超連結樣式
在 styles.styl 檔案中加入:
1 | // 文章内超連結樣式 |
實際結果如下圖:
小結
距離筆者上次更新 Next 主題版本已過了近兩年,過程中 Next 更新了許多功能/客製化介面/套件api;這次花了不少時間更新主題和轉移資料,因為擔心之後忘記自己修改過什麼介面功能,所以特地寫了一篇文章來記錄。若要說筆者最有感的兩大更新:
首先是 pjax,前面提到它可以實現網頁不用整個重新載入,因此本部落格的音樂播放器也不會因切換頁面而中斷播放。
再來是修改主題樣式的部分,基本上大多數的客製化主題除了基本款都在 _config.yml 的檔案修改就好;進階款就是可以新增 custom file 在
/部落格根目錄/source/_data/路徑下,這樣子好處是之後要更新主題就不用又要重新修改 next 資料夾內的檔案(這樣不僅費工也會容易忘記自己改過什麼東西),hexo 主題會優先讀取自己寫的 custom file。