0%

[教學] Hexo 資料夾/檔案架構、佈景主題修改介紹

Hexo 部落格教學文系列:
[教學] 使用 GitHub Pages + Hexo 來架設個人部落格
[教學] 我的第一篇 Hexo 文章 - 使用 hexo-admin 後台管理工具
[教學] 撰寫 Hexo 文章 - Markdown 語法大全
[教學] Hexo 資料夾/檔案架構、佈景主題修改介紹
[教學] Hexo 筆記 - Next 主題升級、客製功能及樣板編輯全記錄
[教學] APlayer:為 Hexo 部落格加入個人音樂播放器

本章節將介紹本地端 Hexo 部落格的資料夾架構,讓使用者能更清楚地知道哪些資料夾和檔案的用途是什麼,或是要客製化部落格或修改文章時該怎麼做。此外,Hexo 部落格的內建主題為 Landscape,說實在並不太好看;而官方提供了數百種的佈景主題供使用者來更換,讓自己的部落格能和其他人與眾不同。


Hexo 資料夾/檔案架構

我們打開電腦裡 Hexo 資料夾後,可以看到以下架構(資料夾以粗體顯示,這裡僅列出重要的架構):
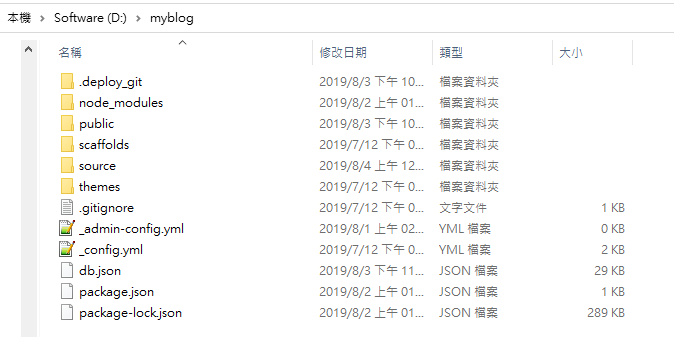
myblog(根目錄)
├─ .deploy_git
├─ node_modules
├─ public //暫存的 push 資料夾(cmd 輸入 hexo g 會產生該資料夾,輸入 hexo cl 則會被刪除)
├─ scaffolds
├─ source //這個資料夾的所有檔案都會 push 到網站上
  ├─ _discarded //“已刪除”的文章會放在這裡(不會 push)
  ├─ _drafts //“未發布”的文章會放在這裡(不會 push)
  ├─ _posts //“已發布”的文章會放在這裡
  ├─ about
    └─ index.md //撰寫部落格的[關於]頁面
  └─ categories
├─ themes //放置佈景主題的資料夾
  └─ landscape //內建佈景主題 Landscape
    ├─ layout, scripts… //有能力者可以修改主題樣板、增加功能等
    └─ _config.yml //修改佈景主題設定
└─ _config.yml //部落格的通用設定,例如:部落格名稱、網址設定等

注意事項:

  • source資料夾public資料夾的關係就相當於「source資料夾 -> 原始碼」「public資料夾 -> 執行檔」,因此public資料夾新增、修改資料是沒有用的,因為執行 hexo cl 指令又會被刪除掉了;所以要新增檔案或修改文章務必在 source資料夾 執行。

根目錄 _config.yml 修改教學

PS. 以下文件為 Hexo 3.9.0 版。yml 檔案的註解符號為「#」,參考資料 配置 | Hexo

Site 部分為設定網站最基本的介紹和說明參數。

1
2
3
4
5
6
7
8
9
10
11
12
# Hexo Configuration
## Docs: https://hexo.io/docs/configuration.html
## Source: https://github.com/hexojs/hexo/

# Site
title: 我的部落格 #網站標題
subtitle: 一個抒發本人心情的地方 #網站副標題
description: #網站描述
keywords: 心情, 部落格 #網站的關鍵詞。使用半角逗號 , 分隔多個關鍵詞。
author: John #您的名字
language: zh-TW #網站使用的語言
timezone: #網站時區,可以留空

URL 部分可以到 [教學] 使用 GitHub Pages + Hexo 來架設個人部落格 - 專案名稱和部落格網址的關係 這章節查看更詳細介紹。

1
2
3
4
5
6
# URL
## If your site is put in a subdirectory, set url as 'http://yoursite.com/child' and root as '/child/'
url: https://xdxd123.github.io/test/
root: /test/
permalink: :year/:month/:day/:title/
permalink_defaults:

Directory 和 Writing 部分一般來說不用更動。

1
2
3
4
5
6
7
8
9
10
11
12
13
14
15
16
17
18
19
20
21
22
23
24
25
# Directory
source_dir: source #原始檔案資料夾,這個資料夾用於存放您的內容
public_dir: public #靜態檔案資料夾,這個資料夾用於存放建立完畢的檔案
tag_dir: tags #標籤資料夾
archive_dir: archives #彙整資料夾
category_dir: categories #分類資料夾
code_dir: downloads/code #Include code 資料夾
i18n_dir: :lang #國際化(i18n)資料夾
skip_render: #跳過指定檔案的渲染

# Writing
new_post_name: :title.md #新文章的檔案名稱
default_layout: post #預設佈局
titlecase: false #把標題轉換為 title case
external_link: true #在新頁籤中開啟連結
filename_case: 0 #把檔案名稱轉換為: 1:小寫或 2:大寫
render_drafts: false #顯示草稿
post_asset_folder: false #啟動 Asset 資料夾
relative_link: false #把連結改為與根目錄的相對位址
future: true #顯示未來的文章
highlight: #程式碼區塊的設定
enable: true #開啟程式碼區塊為高亮
line_number: true #顯示行數
auto_detect: false #如果未指定語言,則啟用自動檢測
tab_replace: #用 n 個空格替換 tabs;如果值為空,則不會替換 tabs

Home page setting 部分可以設定首頁一頁要顯示幾篇文章,或是關閉分頁功能。

1
2
3
4
5
6
7
8
# Home page setting
# path: Root path for your blogs index page. (default = '')
# per_page: Posts displayed per page. (0 = disable pagination)
# order_by: Posts order. (Order by date descending by default)
index_generator:
path: ''
per_page: 10 #一頁顯示的文章量 (0 = 關閉分頁功能)
order_by: -date

Category & Tag 部分比較重要,和文章標題一樣分為「給人看的」和「給網址看的」兩種,例如「給人看的」可以設定中文,而「給網址看的」則設定成英文。

1
2
3
4
5
6
7
8
9
10
11
12
13
14
# Category & Tag
default_category: uncategorized #預設分類
category_map: #分類別名,和文章標題類似意思,分為「給人看的」和「給網址看的」
tag_map: #標籤別名,分為「給人看的」和「給網址看的」

# [下面這個是範例,設定方式為 "給人看的": "給網址看的"]
# Category & Tag
default_category: 未分類
category_map:
開箱文: unboxing
未分類: uncategorized
tag_map:
日記: daily
美食: food

Date / Time format 和 Pagination 部分一般來說不用更動。

1
2
3
4
5
6
7
8
9
10
11
# Date / Time format
## Hexo uses Moment.js to parse and display date
## You can customize the date format as defined in
## http://momentjs.com/docs/#/displaying/format/
date_format: YYYY-MM-DD
time_format: HH:mm:ss

# Pagination
## Set per_page to 0 to disable pagination
per_page: 10 #一頁顯示的文章量 (0 = 關閉分頁功能),和首頁顯示的無關。
pagination_dir: page #分頁目錄

更改主題在這裡修改,請輸入 /根目錄/themes/ 內的”資料夾名稱”。

1
2
3
4
# Extensions
## Plugins: https://hexo.io/plugins/
## Themes: https://hexo.io/themes/
theme: landscape #使用主題名稱, 設為 false 表示關閉主題功能

部署至網路相關設定,可以到 [教學] 使用 GitHub Pages + Hexo 來架設個人部落格 - 設定部署至 GitHub 的資訊 這章節查看更詳細介紹。

1
2
3
4
5
6
# Deployment
## Docs: https://hexo.io/docs/deployment.html
deploy:
type: git
repo: https://github.com/username/username.github.io.git
branch: master

更換主題:以 Stun 主題為例

官方提供了數百種的佈景主題供使用者來更換,這裡筆者也隨便選了一種主題:Stun,來示範要如何更換主題以及主題的個人化設定。

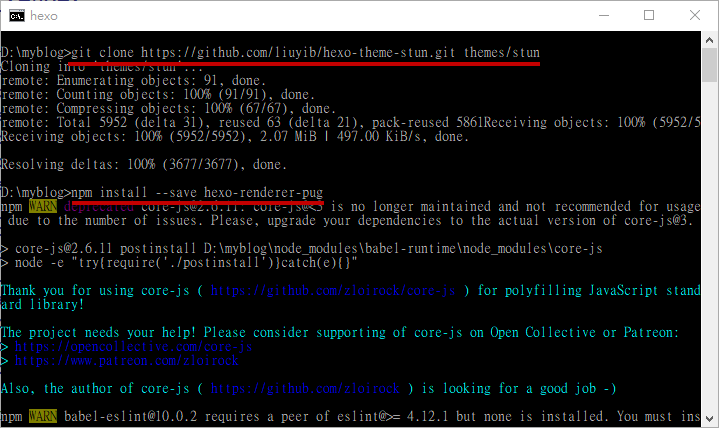
首先照著 Stun 主題頁面的要求,在 Hexo 根目錄,輸入以下指令

1
2
git clone https://github.com/liuyib/hexo-theme-stun.git themes/stun
npm install --save hexo-renderer-pug

接著要在根目錄_config.yml 檔案修改 theme 那行為 stun 主題。

1
2
3
4
# Extensions
## Plugins: https://hexo.io/plugins/
## Themes: https://hexo.io/themes/
theme: stun #這裡修改要用的佈景主題,輸入 /themes/ 下的資料夾名稱

更改完主題後,就能輸入以下指令,在本地端 http://localhost:4000/ 就能看到新的主題了。

1
2
hexo cl  //清除之前建立的靜態檔案
hexo s //架設本地端伺服器

只不過筆者遇到了full_url_for is not a function的錯誤訊息:

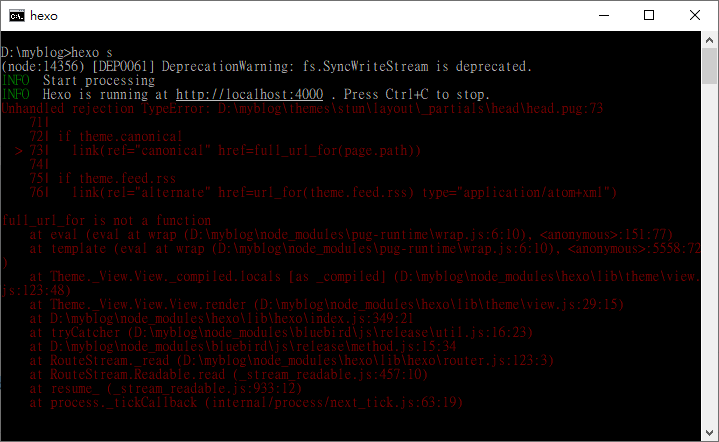
查了一下是因為 hexo 的版本太低(要 4.0.0 以上版本),這時候筆者建議兩種方法,第一種是換主題,第二種是部落格砍掉重練(重新安裝 hexo,然後再把文章、config 檔案移植過來),砍掉重練這部分筆者有空會再寫一篇文章。因為使用升級的方式可能有版本相容性問題,而且更新上也不是這麼容易,理由詳見下方附錄。

如果選擇第二種方式,那就會看到 Stun 佈景主題的部落格:

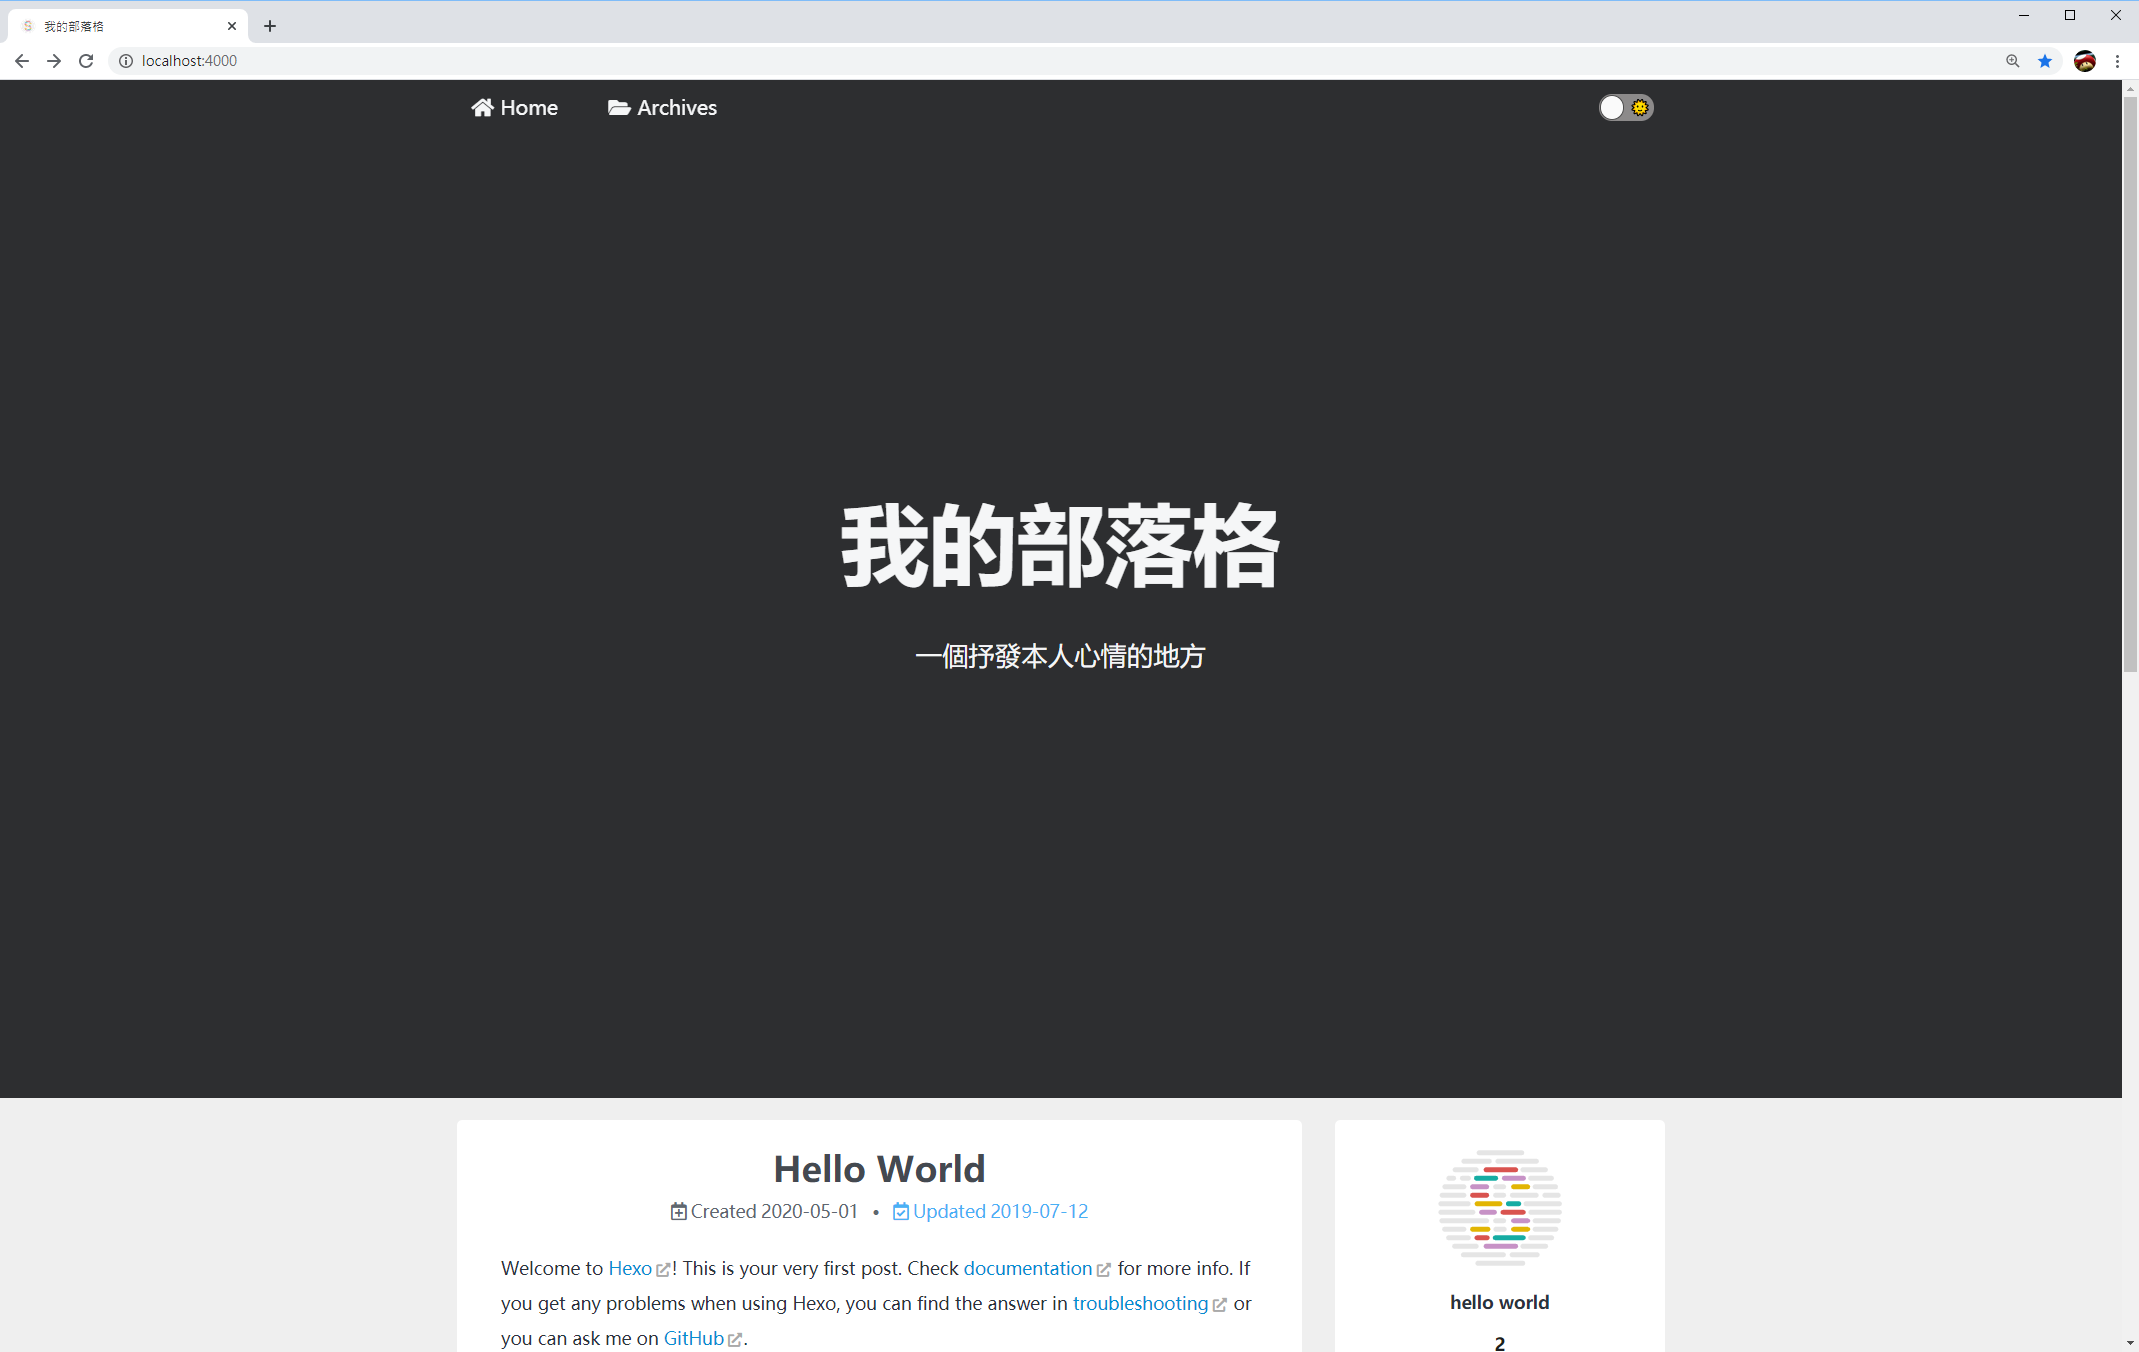
可是外觀看起來醜醜的,這是因為每個主題也會有 _config.yml 的設定檔可以客製化的緣故!

佈景主題 _config.yml 修改教學:以 Stun 主題為例

以 Stun 主題為例,在 /根目錄/themes/stun 內會看到 _config.yml 檔案,我們打開來修改它:

PS. 由於每個佈景主題的 _config.yml 檔案皆不同(無法直接取代使用),這裡只會節錄一些比較重要的修改設定,請善用 Ctrl+F 搜尋。

設定首頁分頁介面,例如要不要打開 categories, tags 分頁等,要打開就是把”#”註解拿掉。

1
2
3
4
5
6
7
8
9
10
11
12
13
14
15
16
17
18
19
20
21
22
23
24
25
26
27
28
29
# ---------------------------------------------------------------
# Menu config
# ---------------------------------------------------------------

# The menu in the website header.
# Value before `||` is the target link, value after `||` is the name of FontAwesome icon.
# Usage(With Icon): `Key: /link/ || fa(s|r|l|d|b) fa-iconname`
# Usage(No Icon) : `Key: /link/`
# Select your icon name, see: https://fontawesome.com/icons
menu:
home: / || fas fa-home
archives: /archives/ || fas fa-folder-open
# categories: /categories/ || fas fa-layer-group
# tags: /tags/ || fas fa-tags
# You can add a secondary menu like follow.
# xxx1: javascript:; || fa(s|r|l|d|b) fa-xxx

# Secondary menu
submenu:
# Add item of secondary menu in here.
# xxx1:
# xxx1-1: /xxx1-1/ || fa(s|r|l|d|b) fa-xxx
# xxx1-2: /xxx1-2/ || fa(s|r|l|d|b) fa-xxx

menu_settings:
# Only show by icon.
icon_only: false
# Only show by text.
text_only: false

瀏覽器分頁左方的小 logo,16x16 代表圖片為 16x16 像素。

1
2
3
4
5
6
7
8
9
favicon:
small: /images/icons/favicon-16x16.png
medium: /images/icons/favicon-32x32.png
# ! --------------------------------------------------
# ! If you don't know the following, please ignore it.
# ! --------------------------------------------------
# apple_touch_icon: /images/icons/apple-touch-icon.png
# safari_pinned_tab: /images/icons/stun-logo.svg
# msapplication: /images/icons/favicon-144x144.png

像夜間模式就是此佈景主題比較獨特的功能。

1
2
3
4
5
6
7
8
9
10
11
12
13
# Night mode
night_mode:
enable: true
# The button of switching to the night mode.
button:
# Color of button (Please use "" to wrap the value).
color: "#fafafa"
# Background color of button (Please use "" to wrap the value).
bg_color: "#8c8a8a"
# The icon that stand for day and night.
icon:
dark: 🌜
light: 🌞

網站介面的尺寸大小。

1
2
3
4
5
6
7
8
9
10
11
12
13
14
15
16
17
18
19
20
21
# The layout for sidebar and content of site.
layout:
# The width of the content area in website.
content: 768px
# The width of the sidebar in website.
sidebar: 300px
# The width between the content and the sidebar.
content_sidebar_gap: 30px
# The padding property of the main tag.
# e.g. Usage:
# 20px
# 20px 30px
# 20px 20px 30px
# 20px 30px 40px 25px
main_padding:
# Take effect when screen width in: [768px, Infinity)
default: 20px
# Take effect when screen width in: [576px, 768px)
tablet: 15px
# Take effect when screen width in: [0px, 576px)
mobile: 10px

網頁分為 header, body, footer 三個區塊,以 header 為例,若要修改背景圖片,enable 要設定為 true,url 可以放網址或資料夾路徑,也就是 source 資料夾下的路徑(詳見附錄)。

1
2
3
4
5
6
7
8
9
10
11
12
13
14
15
16
17
18
19
20
21
22
23
24
25
26
27
28
29
30
31
# The header of site.
header:
enable: true
show_on:
# Whether to show on the article page.
post: true
# If you set a percentage, it will be calculated based on the height of screen (Supports all CSS units)
height: 80%
# Background image of site header.
bg_image:
enable: true #若要有背景,false 要改為 true
# In theme directory (source/images): /images/avatar.png
# In site directory (source/uploads): /uploads/avatar.png
# You can also use a link of image.
url: /images/background.jpg #圖片路徑
# Mask effect of the background image.
mask:
enable: false
# Opacity of the mask (value: 0 ~ 1)
opacity: 0.5
nav:
# Height of the navigation bar (Supports all CSS units)
height: 50px
# Background color of the navigation bar (Please use "" to wrap the value).
bg_color: "#333"
# The icon that prompts the user to pull down.
scroll_down_icon:
enable: false
# Icon name in FontAwesome, see: https://fontawesome.com/icons
name: fas fa-angle-down
animation: true

language 的地方要加上 zh_TW

1
2
3
4
5
6
7
8
9
10
11
12
13
14
15
16
# Creative Commons 4.0 International License
creative_commons:
enable: true
# Optional values: BY | BY-SA | BY-ND | BY-NC | BY-NC-SA | BY-NC-ND
# For details, please see: https://creativecommons.org/share-your-work/licensing-types-examples/
license: BY-NC-SA
# Show the CC license in the sidebar.
sidebar: true
# Show the CC license at the post bottom.
post: true
# Optional values:
# id | ms | ca | da | de | en | es | es_ES | eo | eu | fr | gl | hr
# it | lv | lt | hu | nl | no | pt | pt_BR | pl | ro | sl | fi | sv
# tr | is | cs | el | be | ru | zh | zh_TW | uk | ar | fa | bn | ja | ko
# If not set, `en` will be used by default.
language: zh_TW

側邊欄設定,包含作者頭像,邊欄置於右方還是左方等。

1
2
3
4
5
6
7
8
9
10
11
12
13
14
15
16
17
18
19
20
21
22
23
24
25
26
27
# The sidebar of site.
sidebar:
enable: true
# Optional value: left | right
position: right
# The distance from the top of the page when the sidebar is fixed (Only `px` unit is supported)
offsetTop: 20px
# Whether to show horizon line.
horizon_line: false

author:
enable: true
# Avatar in the site sidebar.
avatar:
# In theme directory (source/images): /images/avatar.png
# In site directory (source/uploads): /uploads/avatar.png
# You can also use a link of image.
url: /images/icons/stun-logo.svg
# If true, the avatar would be displayed in a circle.
rounded: false
# Opacity of avatar (value: 0 ~ 1)
opacity: 1
# Mouse hover animation
# Optional value: turn | shake
animation: turn
# Your favorite motto.
motto: hello world

剩下就是一些文章細節/樣式、留言工具、網站流量分析等設定,這裡不多做贅述。

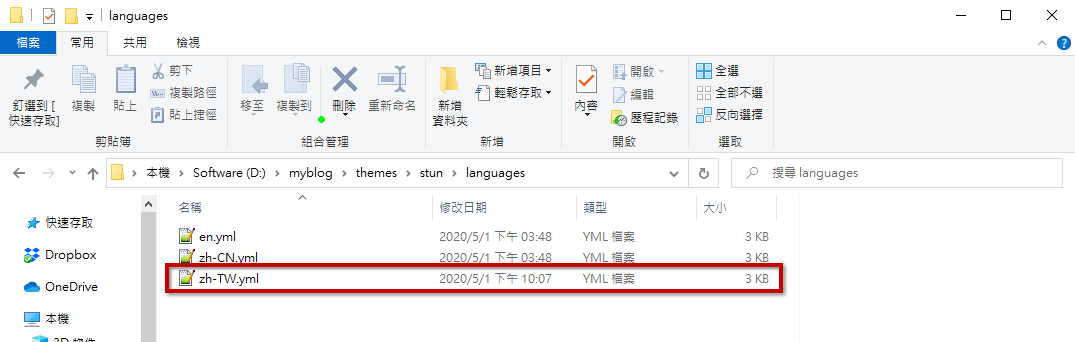
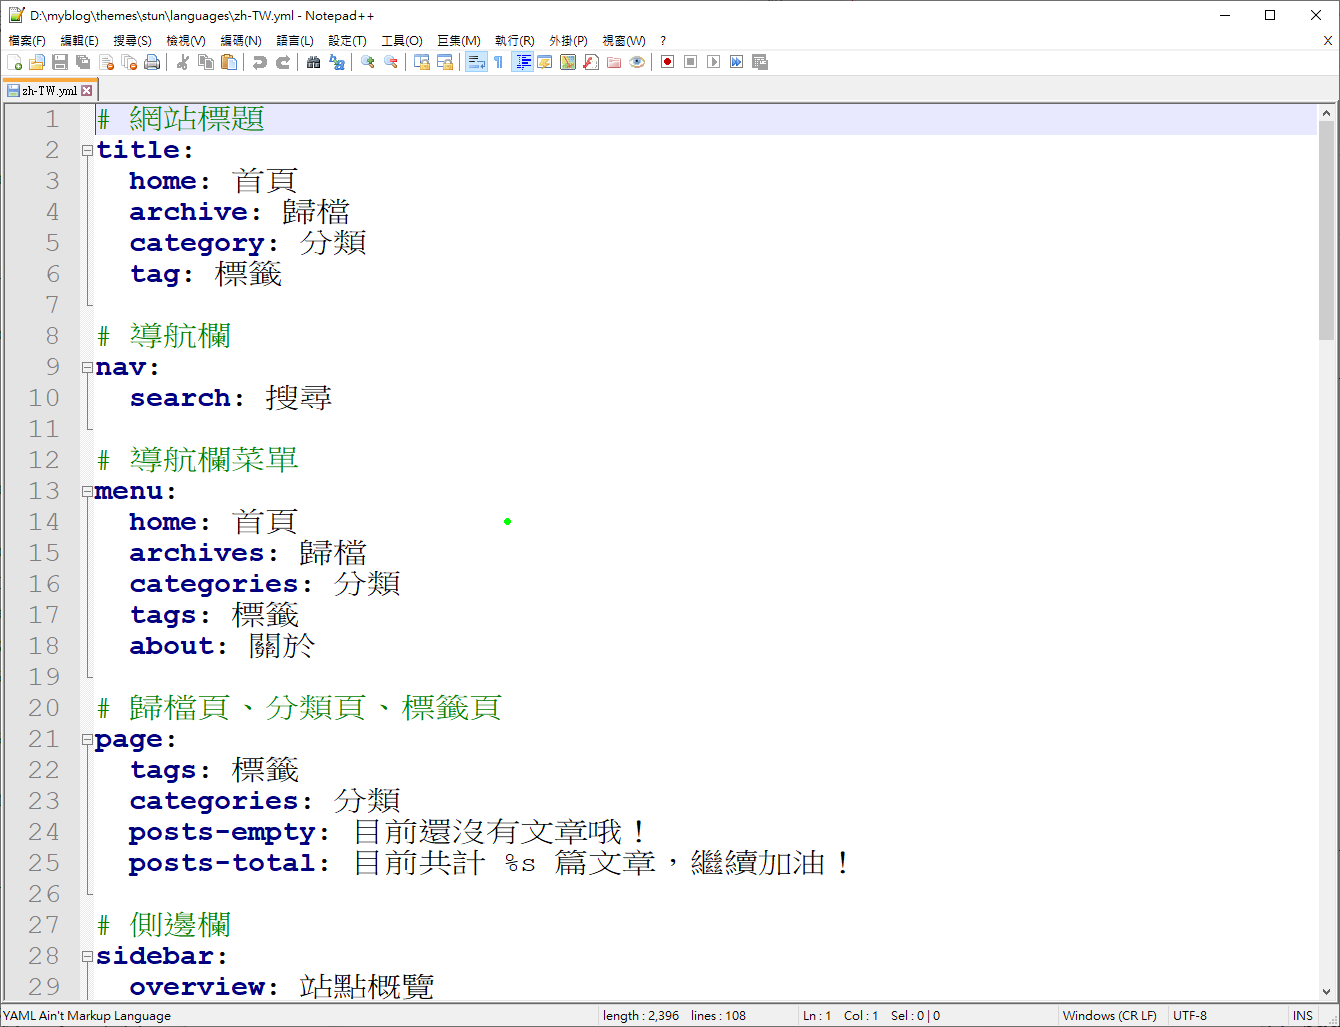
不過這個主題除了英文(en),剩下只有簡體中文(zh-CN)一種語言,因此使用者必須到 /根目錄/themes/stun/languages/ 的路徑複製 zh-CN.yml 檔案,然後更名為 zh-TW.yml,最後再把裡面的簡體改成繁體(可以使用這個繁簡轉換網站),並修飾語句(例如下圖的 12 行就可以把”菜單”改為”目錄”):

最後可以看到修改後的佈景主題,好看多了!
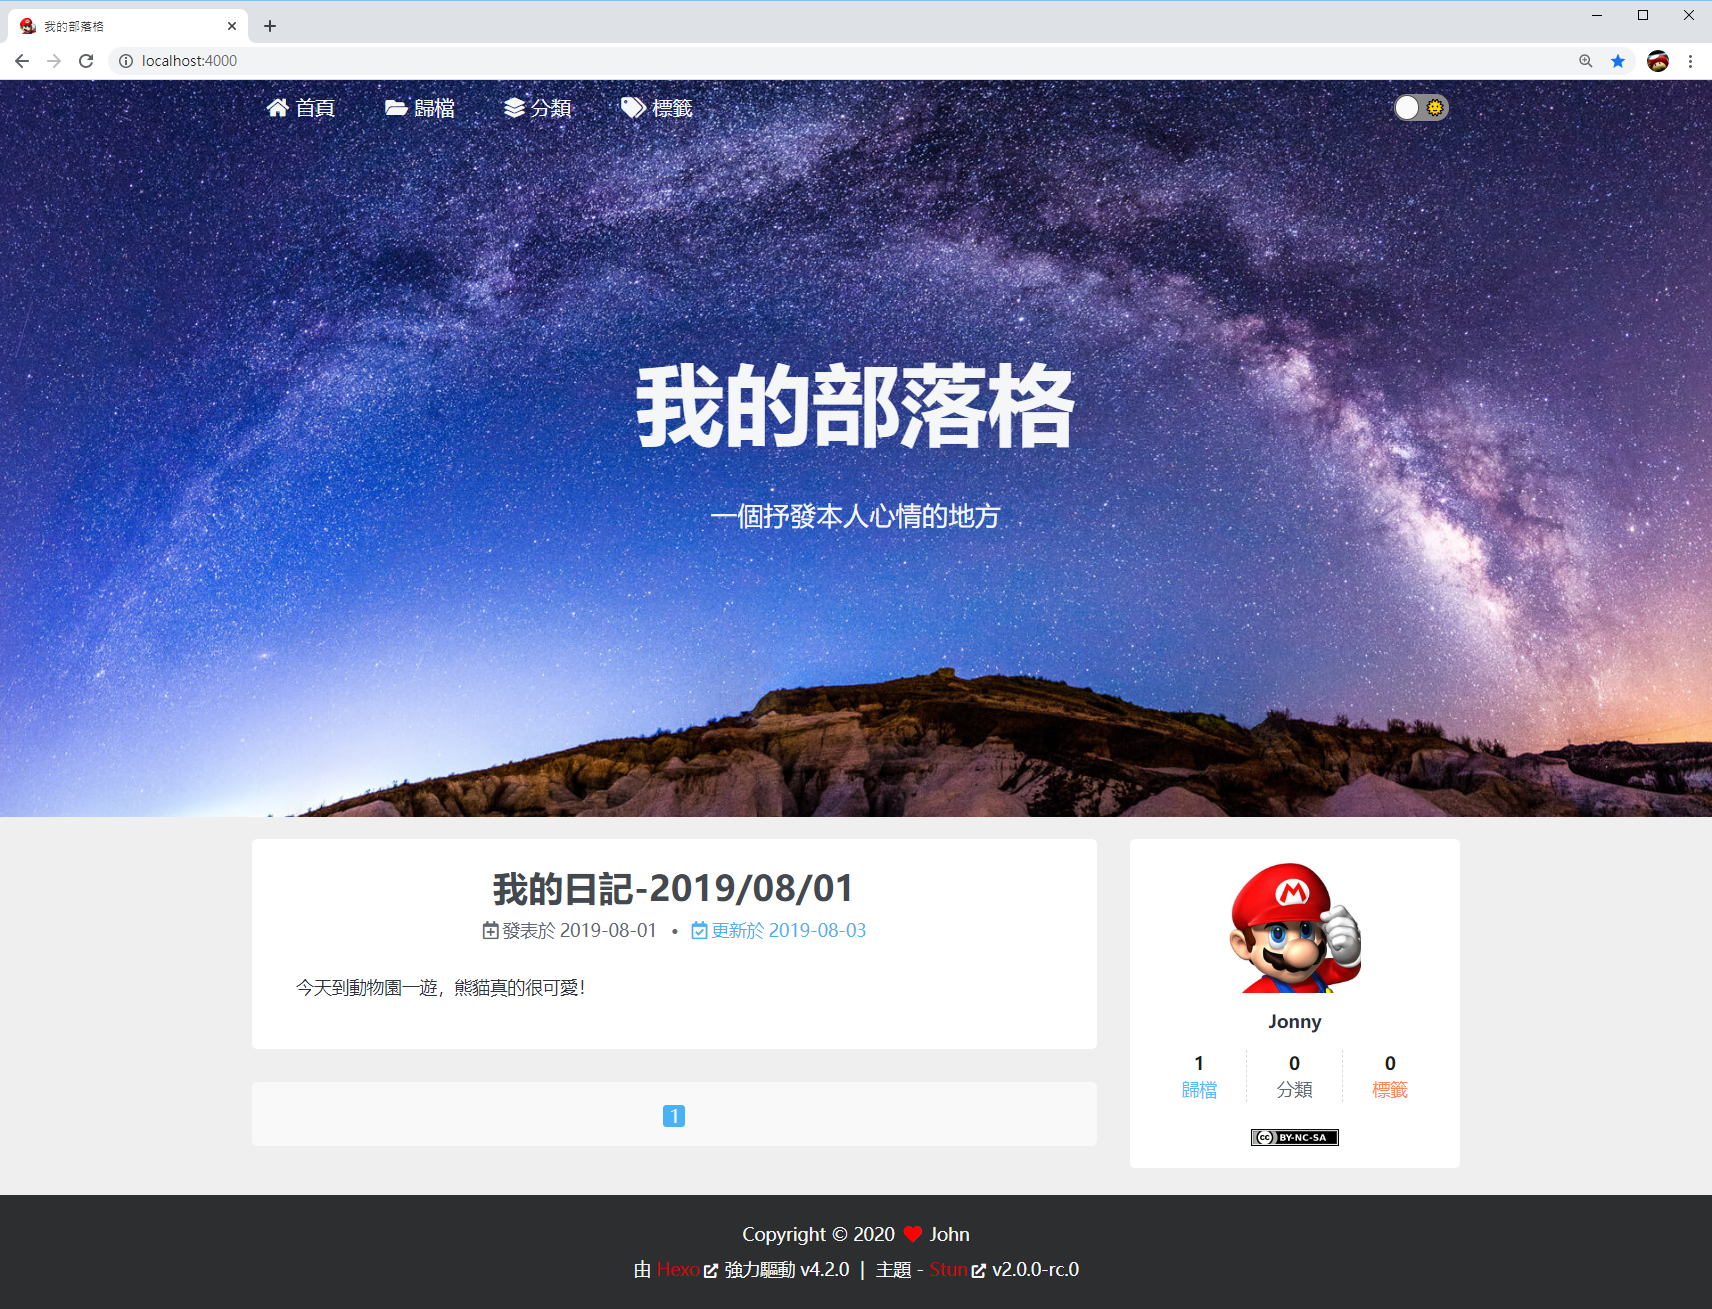
還有夜間模式的切換功能也很潮!

附錄:實用教學

為何不建議直接升級 Hexo 版本?

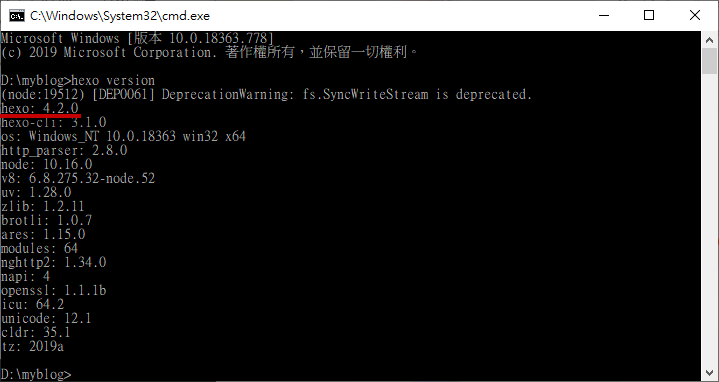
因為 Stun 主題只支援 Hexo 4.0.0 以上版本,而筆者去年下半年開始寫 Hexo 教學文的時候,Hexo 為 3.9.0 版本。要確認自己目前 Hexo 版本,可以在 Hexo 根目錄資料夾下開啟 cmd,然後輸入:

1
hexo version

如圖為目前最新版本 4.2.0 版。

除此之外,因為當初 Node.js 透過 .msi 檔安裝時,npm 預設會放在 Program Files\nodejs\npm 路徑下,然後透過 PATH 來指定到 Program Files\nodejs\npm 路徑下的 npm,但真正 Global 的位置卻是在 users\skychang\AppData\Roaming\npm 路徑下…簡單來說,就是在 Windows 下更新 npm 很有可能會沒反應。

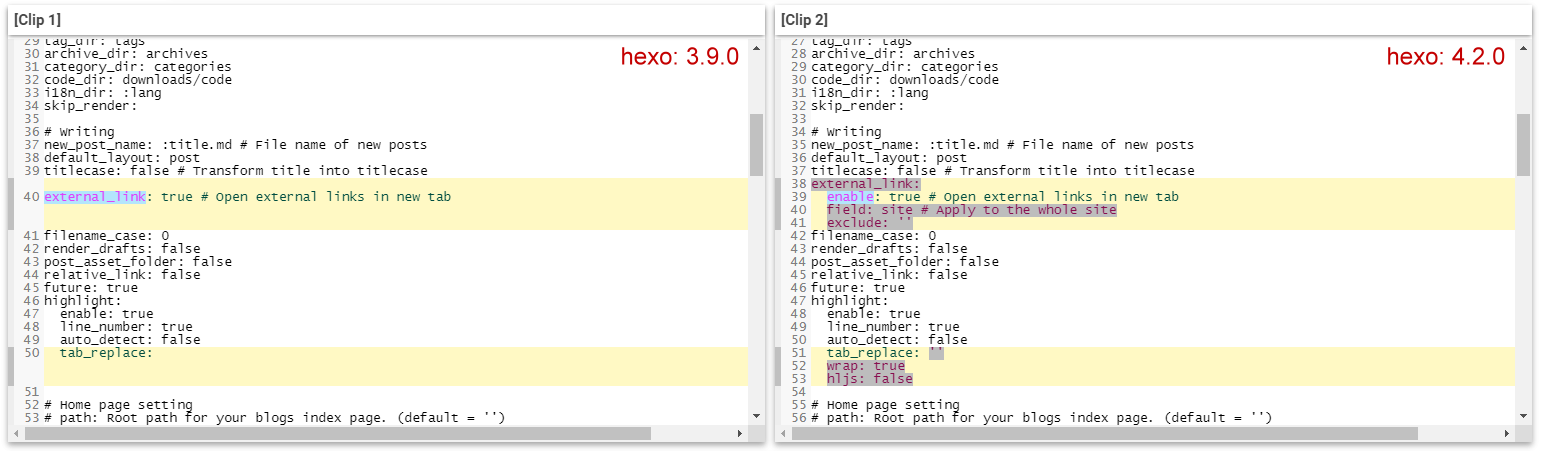
還有一個原因不建議,就是套件可能會有相容性問題,還有根目錄的 _config.yml 檔案也會變更。如下圖所示,左邊是 3.9.0 版的 _config.yml,右邊是 4.2.0 版的 _config.yml,圖中可以看到兩者 config 內容會有些許差異。

因此若要將 Hexo 版本更新到 4.2.0,只能重新參照 使用 GitHub Pages + Hexo 來架設個人部落格 這篇文章來新建一個部落格資料夾,然後將所有文章和 config 設定慢慢移植過去是最理想的方式。

source 資料夾

前面提到 source 資料夾就是會將裡面所有檔案都會 push 到網站上,除了一些前綴有底線的資料夾,還有 about, categories 等 Hexo 自動生成的資料夾會另外處理,只要使用者自己放什麼檔案就會 push 至部落格。

而 source 資料夾也可以被理解成 個人網路部落格的根目錄,例如筆者在 source 資料夾下新增 ads.txt 檔案,那經過 push 後,這個檔案的網址路徑就會是 https://username.github.io/ads.txt

因此前面在設定佈景主題 Avatar 或 Background 的圖片連結時(如下方的 _config.yml),例如將連結設定為/images/avatar.png,那就代表這張圖片的路徑就是 /根目錄/source/images/avatar.png

1
2
3
avatar:
# Replace the default image and set the url here.
url: /images/avatar.png

佈景主題如何挑選?

佈景主題首先當然是先挑自己喜歡的,然後觀察佈景主題的 GitHub 頁面,這裡一樣用 Stun 主題 示範:

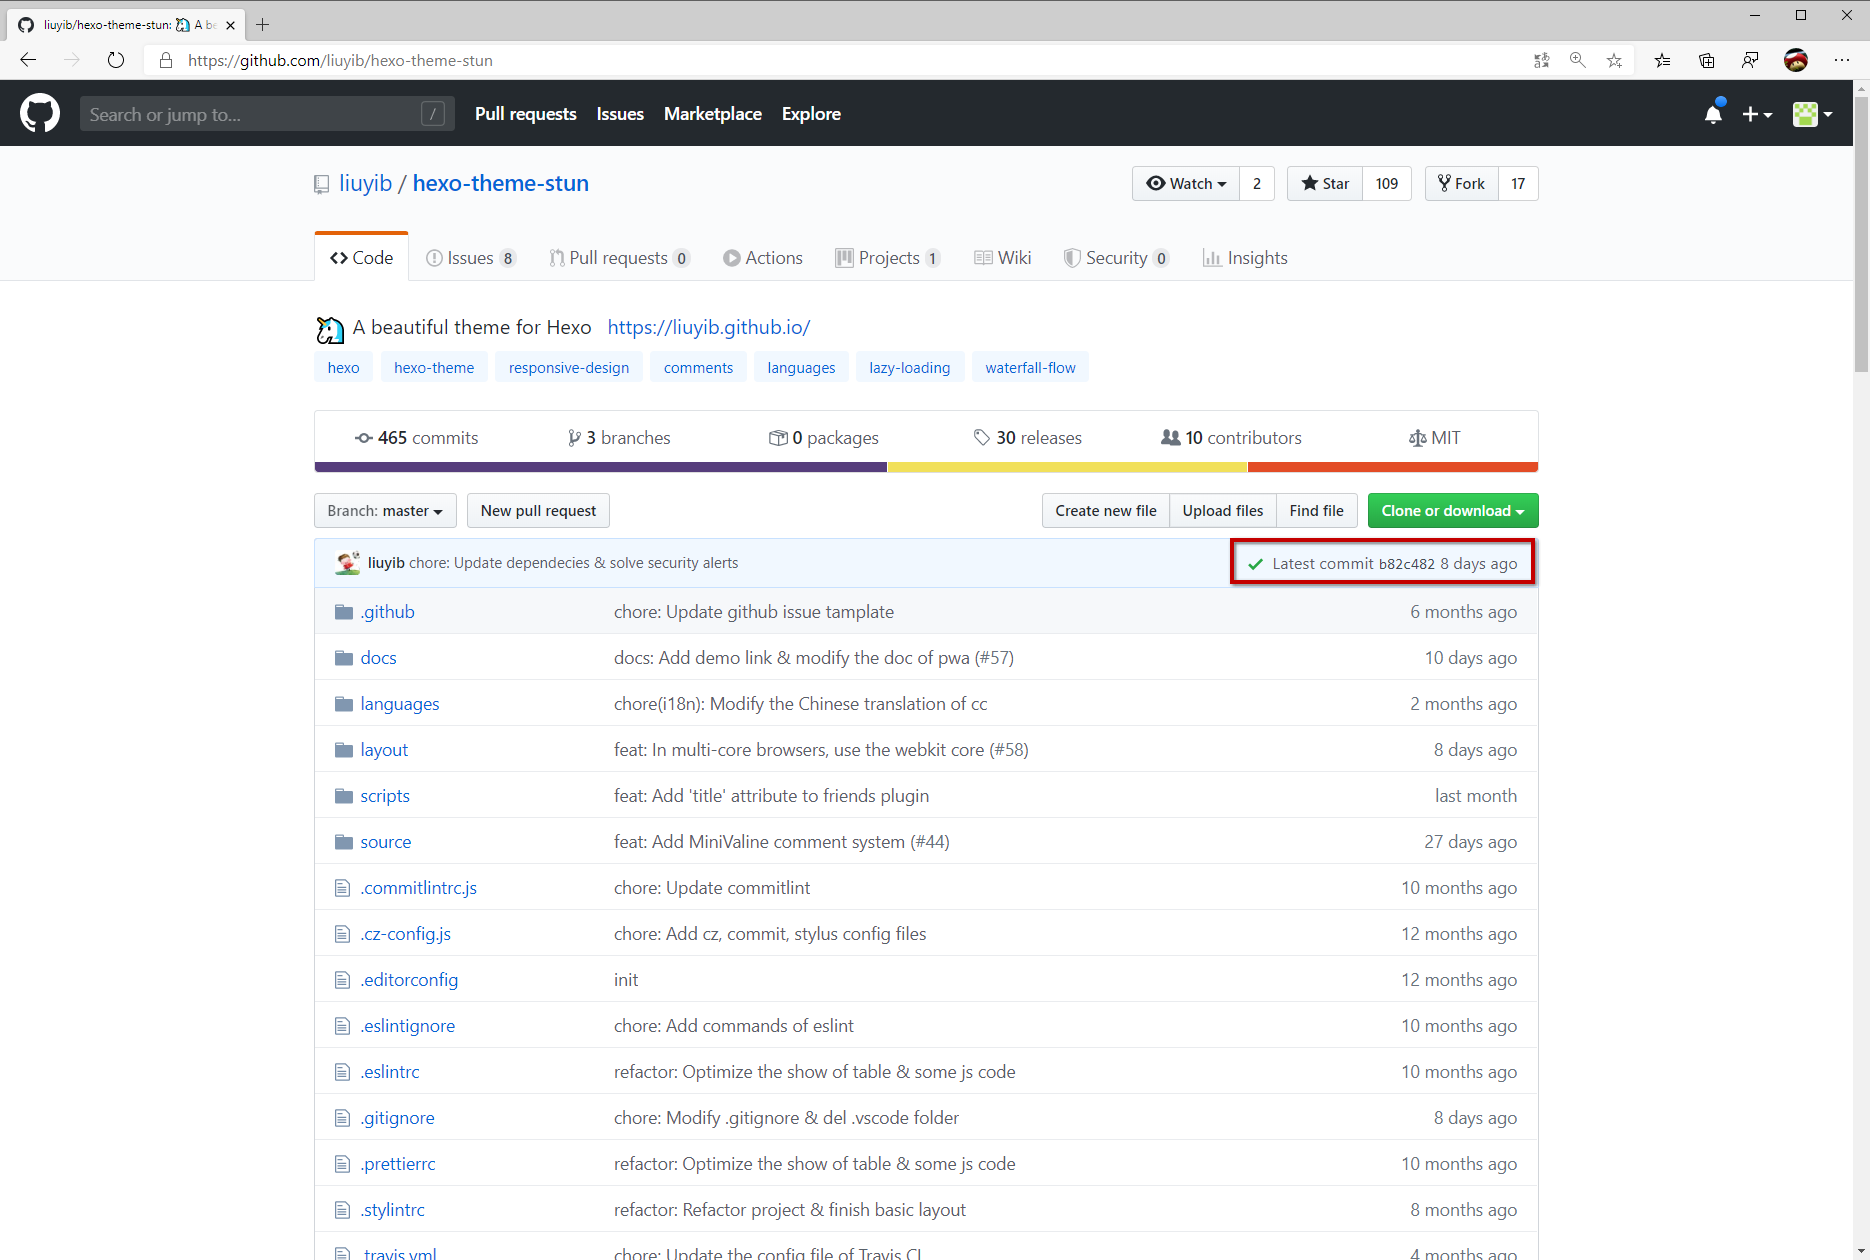
如上圖,可以看到八天前還有更新,代表這個主題還有人持續在維護,因此主題一定要挑選還有在持續更新的。

再來往下看,如果下方資訊頁面有中文文檔,代表這個主題有”中文”的機會很高,否則要自己翻譯是很辛苦的。

如果不常更新的佈景主題也不是不能用,但除了有可能無法更新到最新版本,可能也不支援各種留言、網站分析的 API,如果主題有 bug 作者也不會修復,這都是在套用該主題之前要考量的問題。

還有一個理由,就是像筆者目前在用的 Next 主題算是最多人用的主題,但為何大家都要用這個佈景主題呢?因為它網路上的資源最豐富,如果要新增功能或修改樣板,幾乎都查的到針對 Next 主題的教學。